Introduction
This article will teach you how to create your personal knowledge base, using the Hugo doks theme and hosting it on Github Pages. We will also be using a custom domain name, bought from namecheap.
Why Hugo and not a dedicated Note Taking App?
So why use Hugo? This seems like a lot of work compared to using an already premade solution, such as Obsidian. Well, there are a couple of reasons.
- Markdown support: Other solutions also support this, but I think it is important to mention.
- Platform & editor independent: You can write your notes using any text editor on any OS. You only need git and Hugo, and you’re good to go.
- Availability: Your notes are always available (as long as Github is up, of course) and backed up, including version control.
- Speed: As Hugo pages are static, they are incredibly fast, unlike other online solutions, e.g. Gitbook.
- Learning: This might not be the same for everyone, but I learned a ton about simple development, VCSs, and hosting while doing this project.
Requirements
For this project to work, there are only a couple of things you need:
Node.jsandnpm(Installation instructions)Hugo(Installation instructions)git(Installation instructions)- Text editor of your choice (I prefer VS Code)
- Recommended, but not required: a custom domain name, e.g. from namecheap.
I won’t be going into on how to set up the requirements, as there are way better instructions in the official docs than I could provide here. Just follow the steps from the links above, then come back here when you’re done!
Setting Up our Local Development Repository
The first thing we need to do, is set up a repository, where we will create and edit all of the content and notes we will be publishing.
For that, browse to https://github.com/h-enk/doks/ and click Use this template.

Now, give it the name you want and maybe a custom description. Make sure that the repository is public, as the theme uses code scanning, which requires it to be public.
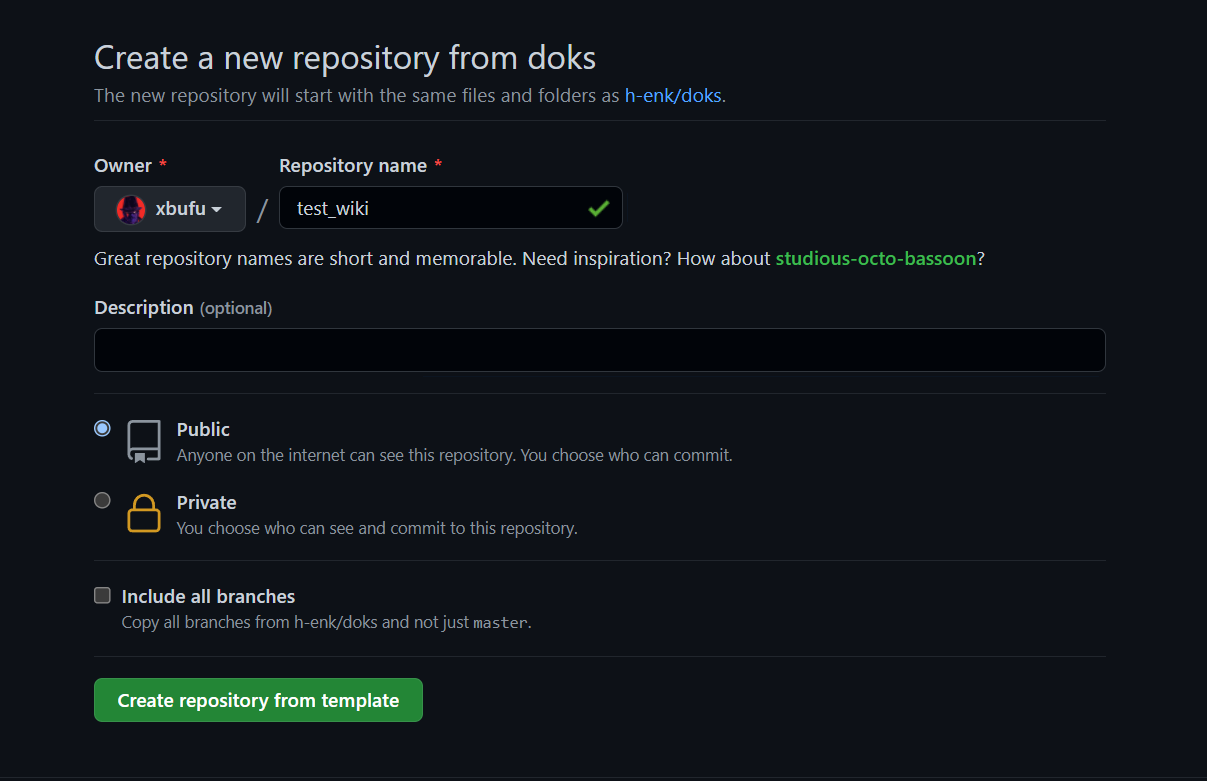
You can download your repository to access it locally and make changes to it. Grab the link (preferably the SSH one) and clone it.
git clone [email protected]:xbufu/test_wiki.git
Next, install all of the dependencies using npm and test out the default site.
cd test_wiki
npm install
npm run start
Installing the required packages with npm might take a minute. Once finished, you should be able to access the site by browsing to http://localhost:1313.
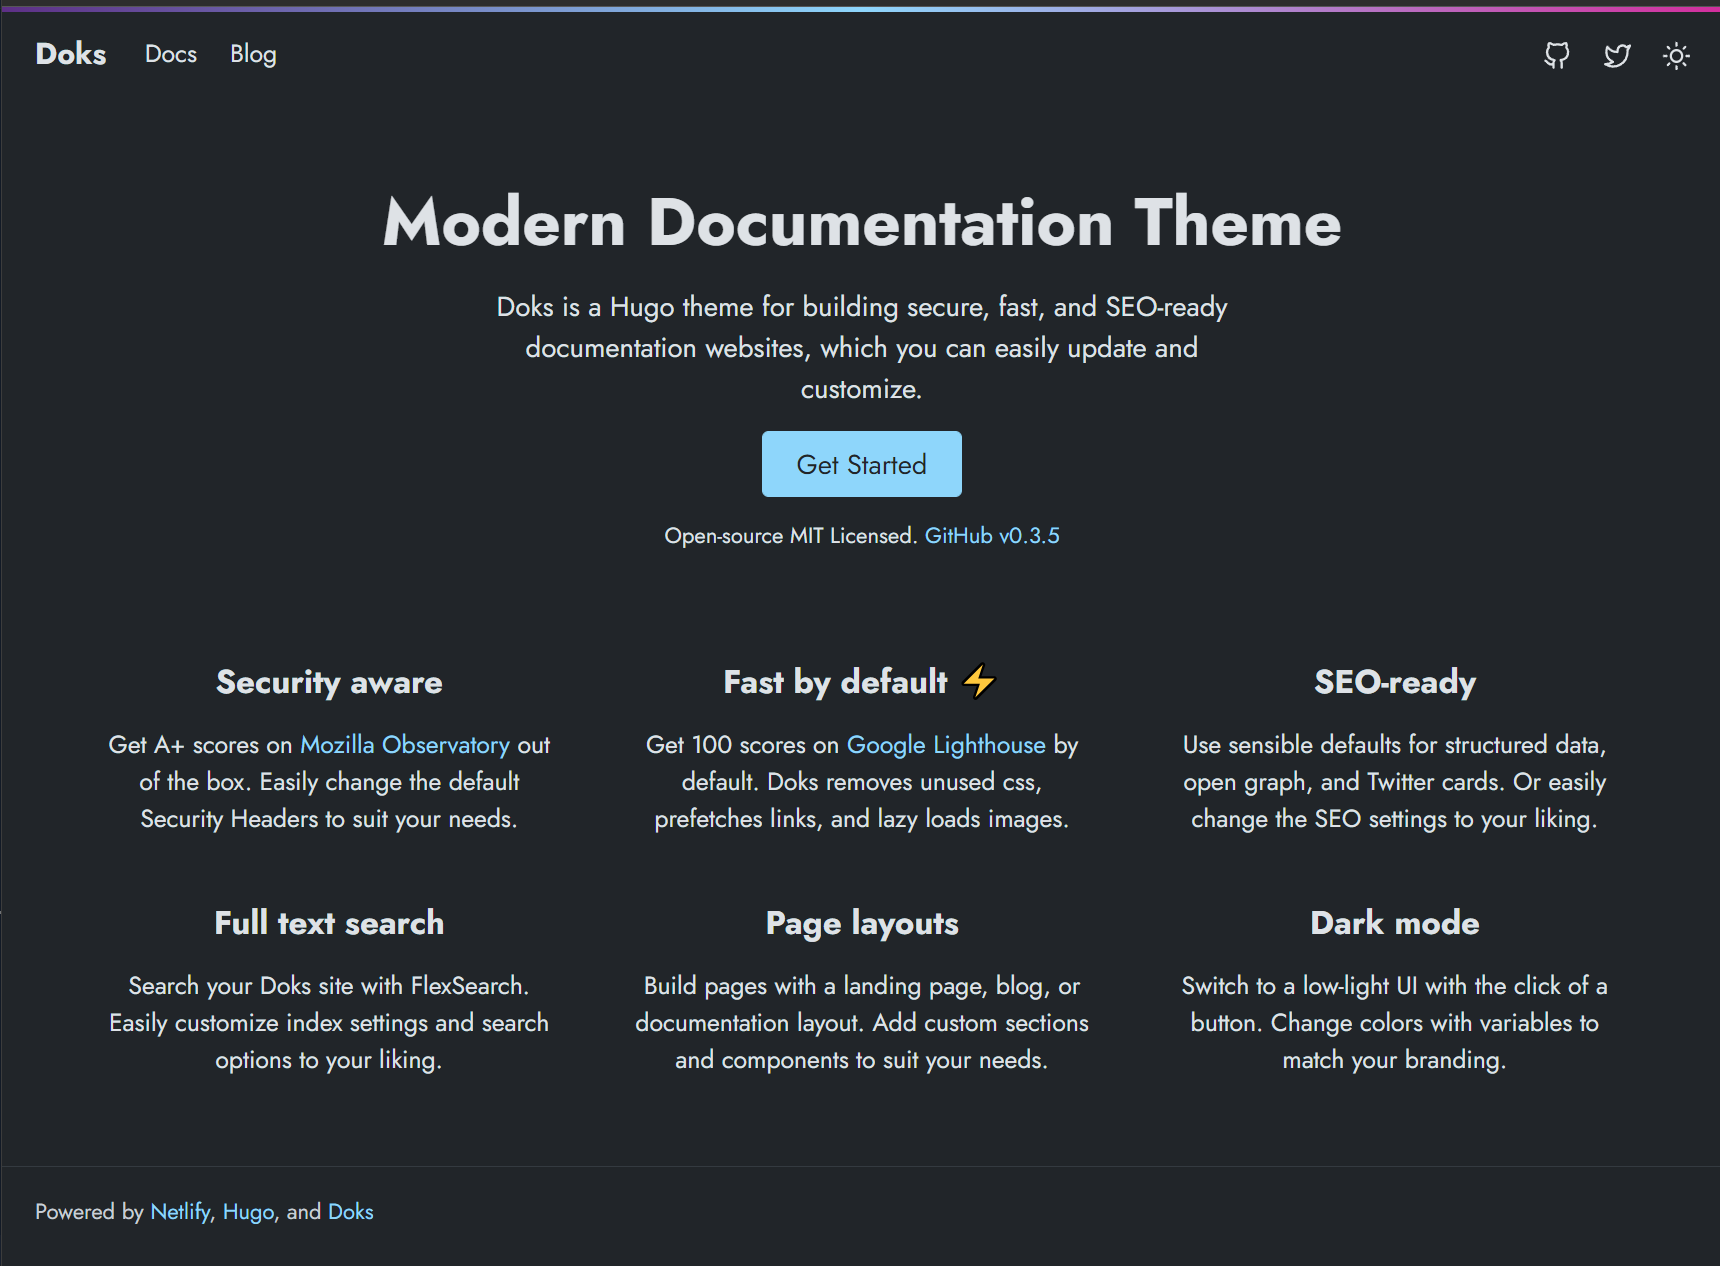
Github Actions and Pull Requests
You might be wondering why you just received emails, notifiying you about multiple pull requests. That’s because the doks theme uses Github Actions to scan your newly pushed code for possible updates to dependencies and vulnerabilities in the code itself.
You should be able to just accept all of the pull requests as they come in, provided the checks pass. The only thing I had an issue with, was with the stylelint and stylelint-config dependencies. When I merged the pull requests, it would spit out syntax errors. To be on the safe side, I recommend not merging that one. Everything else should work just fine.
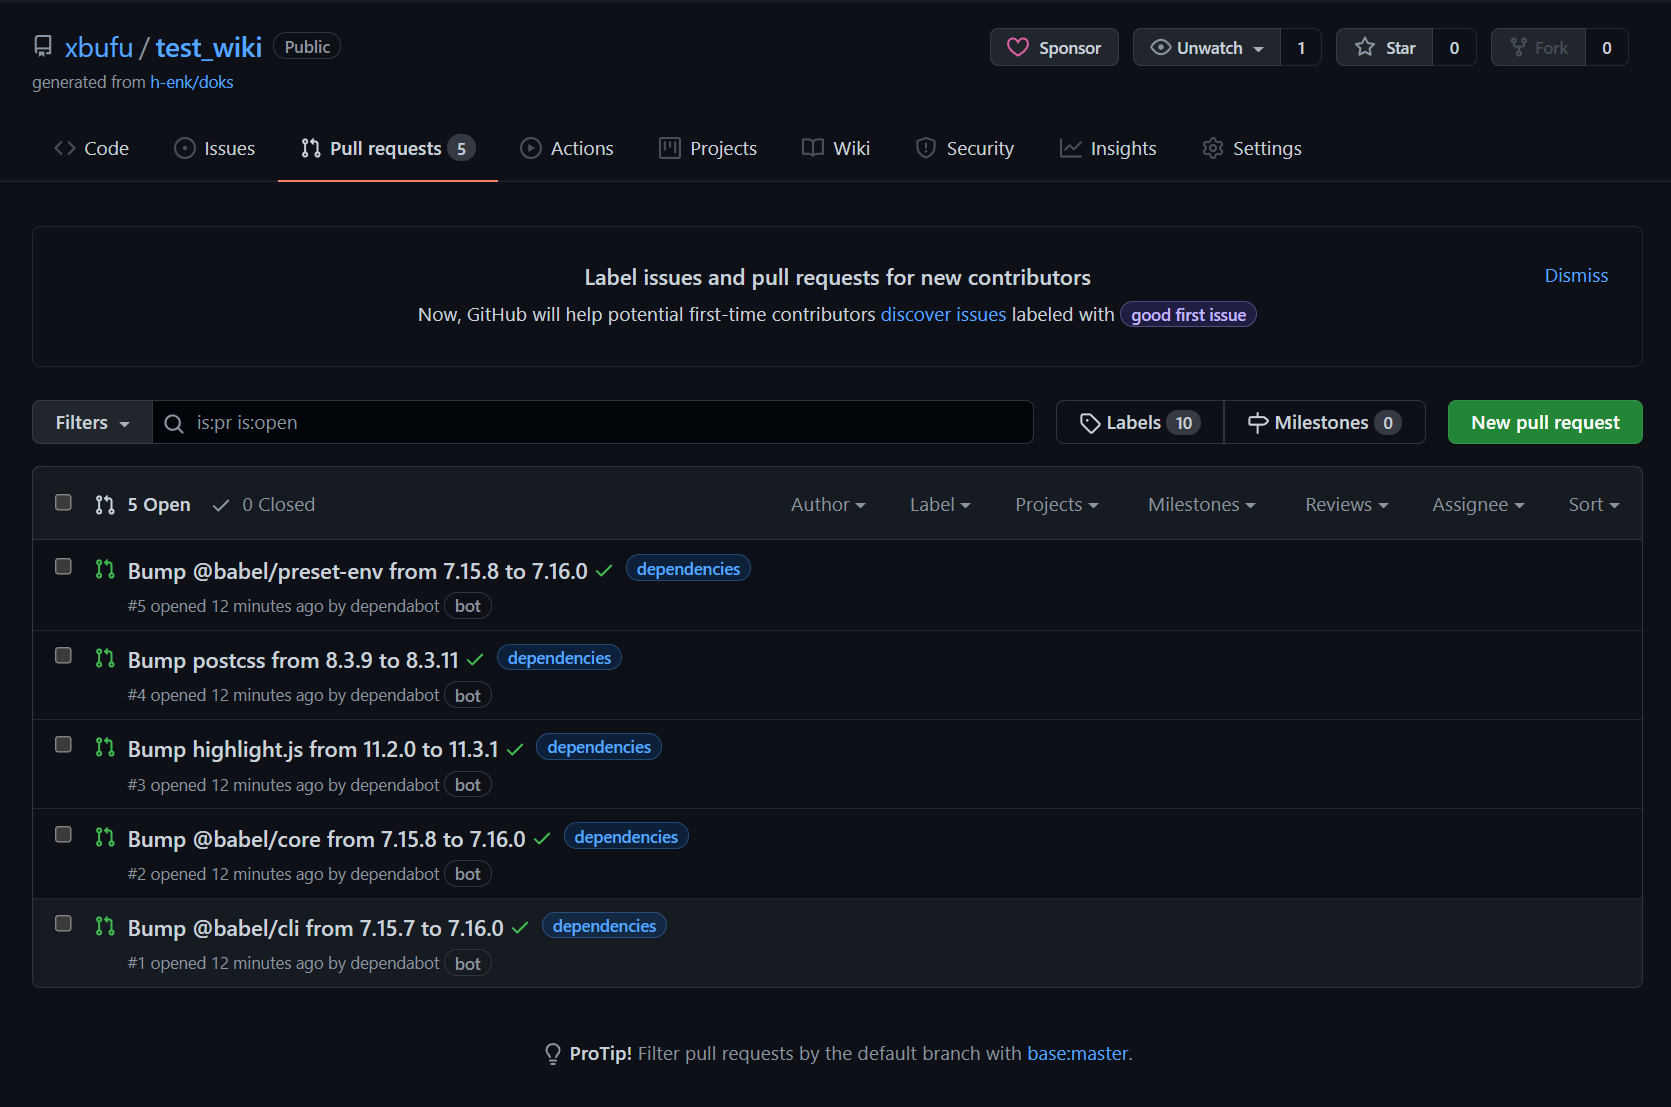
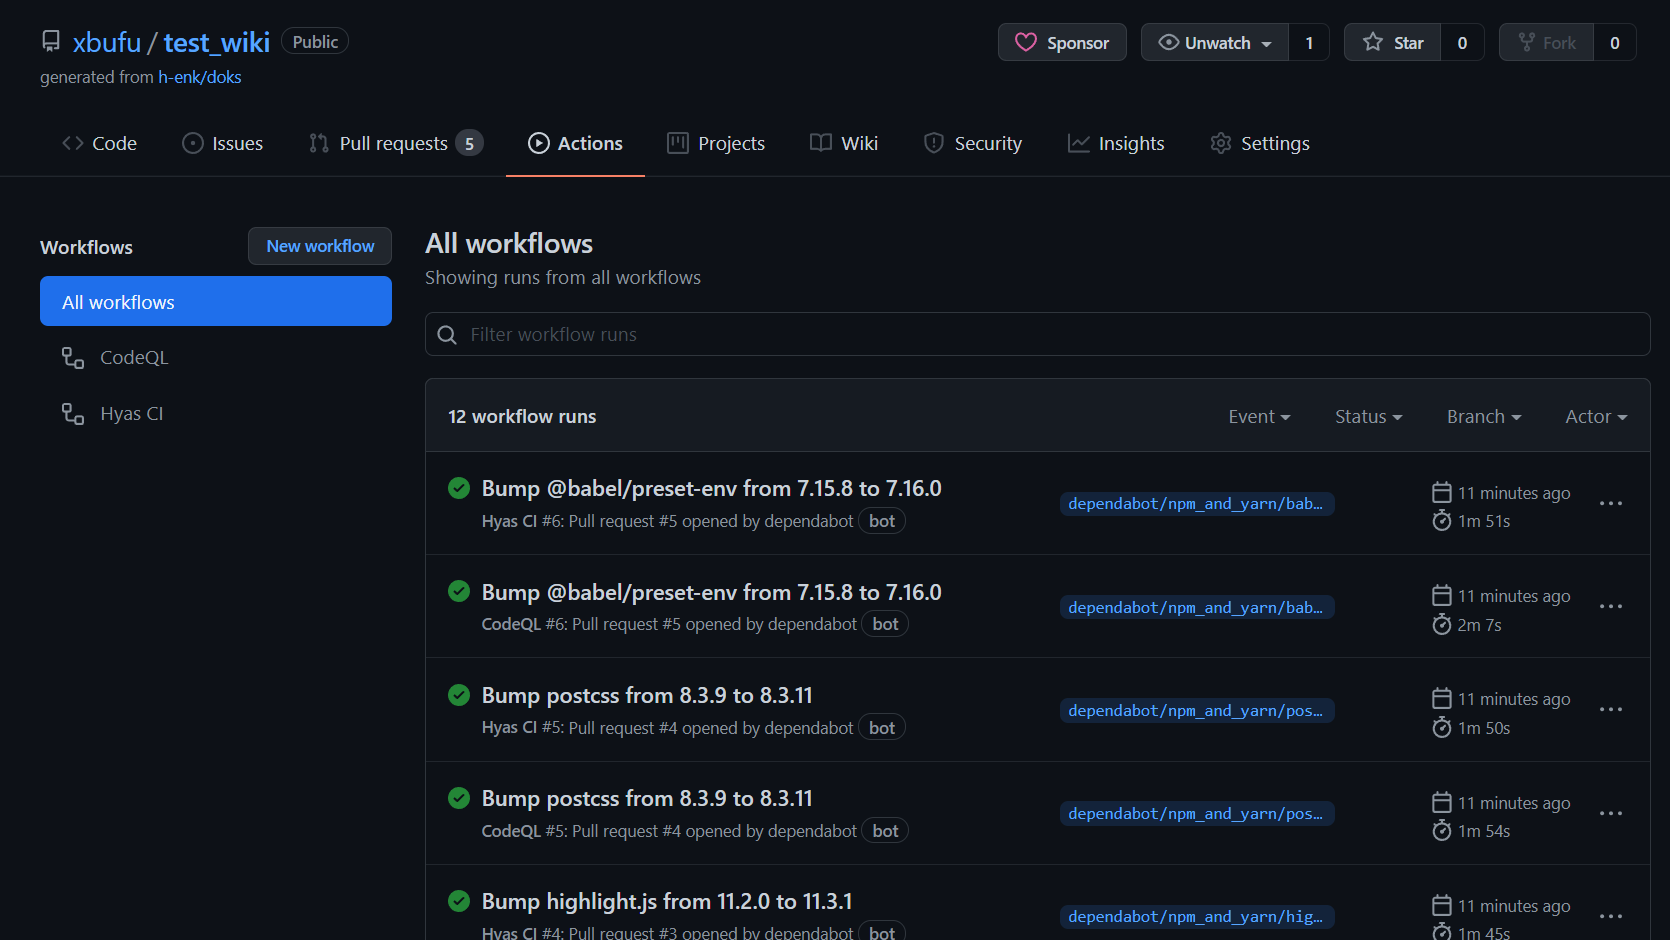
Adding another Docs Section
You might notice that in the base theme, there is only a single page for your documentation. Since we are going to be using this site for notes pertaining to multiple topics, this won’t be enough. In my case, I wanted to have a section for each major field in regards to Pentesting and Red Teaming, e.g. for Active Directory, WebApps, Internal, etc.
There are, however, multiple steps required to achieve this. The good thing here is, that we can basically copy most of the code from the existing files for the default docs section.
For this demo, we will create another section called wiki. Let’s get started!
Create the Archetype
The archetype will be the template from which new files, i.e. notes, will be created. We can simply copy the archetype file for the docs section at archetypes/docs.md and call it wiki.md.
You can make the body of the template whatever you want, but the front matter should look something like this:
---
title: "{{ replace .Name "-" " " | title }}"
description: ""
lead: ""
date: {{ .Date }}
lastmod: {{ .Date }}
draft: true
images: []
menu:
  wiki:
    parent: ""
weight: 999
toc: true
---
Make sure to change the line under menu: according to your chosen section name, as otherwise your sidebar menu will not work. Also, be careful with using hyphens (-) in your name. They caused various issues for me, so if you plan to use longer names, stick to underscores (_).
This is also the only time I will remind you to change the name accordingly, as it should be quite obvious. Every time you see wiki, replace it with your chosen name!
Create the Layouts
The next step is to create the layout files, which Hugo will use to create the HTML code from the Markdown code. The files we need to create are:
layouts/wiki/list.htmllayouts/wiki/single.htmllayouts/partials/sidebar/wiki-menu.html
Use the related files for the original docs section as templates. They are located at layouts/docs/ and layouts/partials/sidebar/docs-menu.html.
For list.html, you can just copy it from layouts/docs/list.html. There is no need to change anything.
For single.html, replace line 5 with:
{{ partial "sidebar/wiki-menu.html" . }}
For wiki-menu.html, replace all occurrences of docs with wiki. BUT: leave the docs-link ones as they are!
Create new Content
We can now create some sample content, using the command:
npm run create wiki/demo/test.md
This will create a new file at content/en/wiki/demo/test.md based on the archetype we created earlier.
Edit the title, description, and lead however you like. Then change line 7 to draft: false, otherwise it will not show up in in the production site.
You will also need to change line 11 to parent: "demo". Change this value to whatever the parent folder of your new post is.
Next, copy content/en/docs/_index.md to content/en/wiki/_index.md and content/en/wiki/demo/_index.md, and edit the title and description.
Add Menu Entries
After creating the content, we need to add the appropriate menu entries in config/_default/menus/menus.en.toml.
For the new entry to show up in the top bar, add this after line 22:
[[main]]
  name = "Wiki"
  url = "/wiki/demo/test/"
  weight = 30
Next, add the following after line 11:
[[wiki]]
  name = "Demo"
  weight = 10
  identifier = "demo"
  url = "/wiki/demo/"
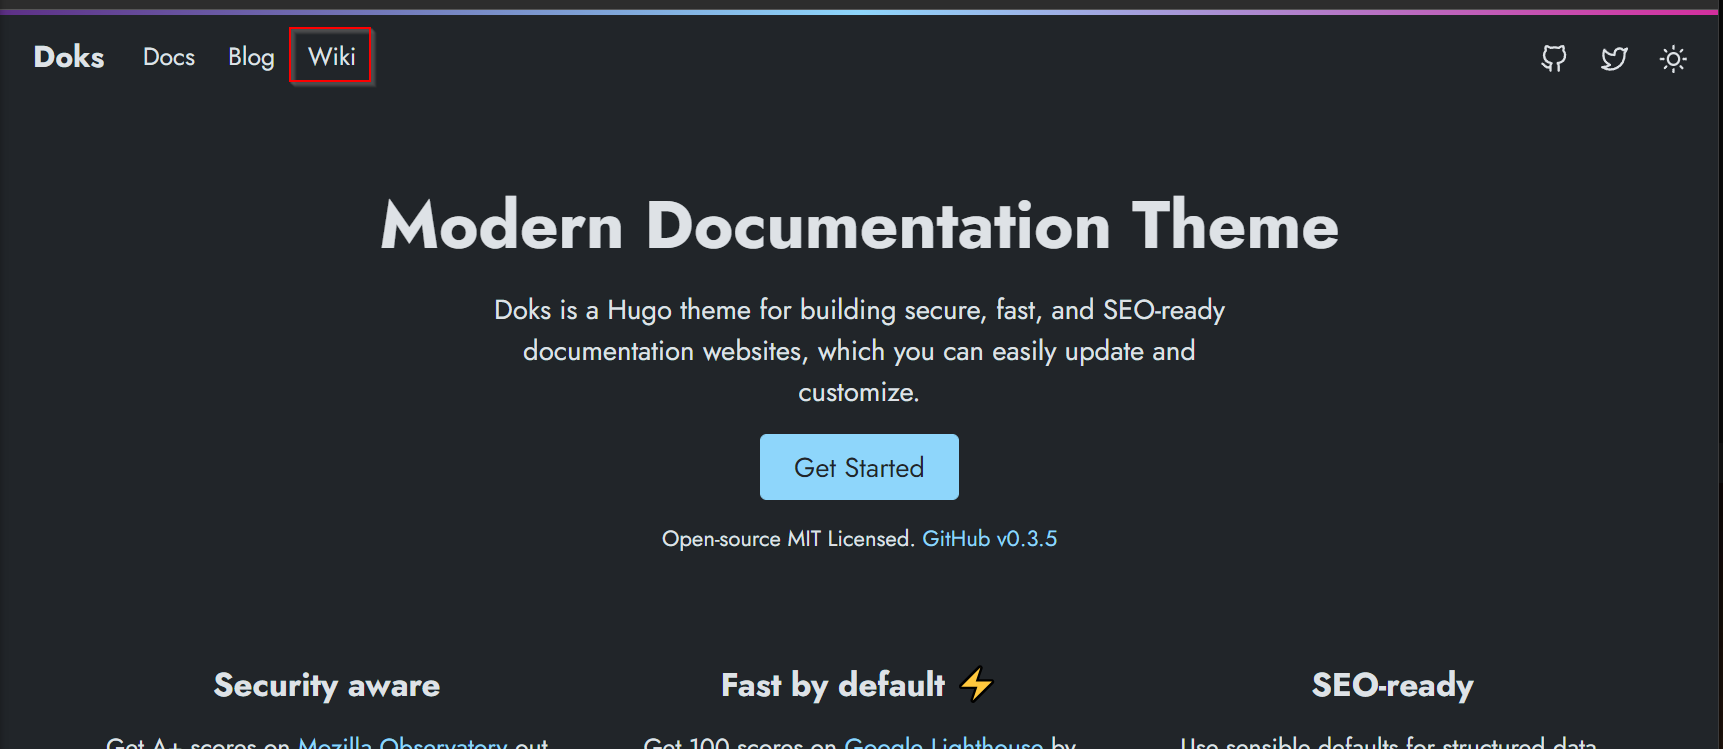
This ensures that the sidebar menu will show up correctly when you browse to the page. The main page should now look something like this:
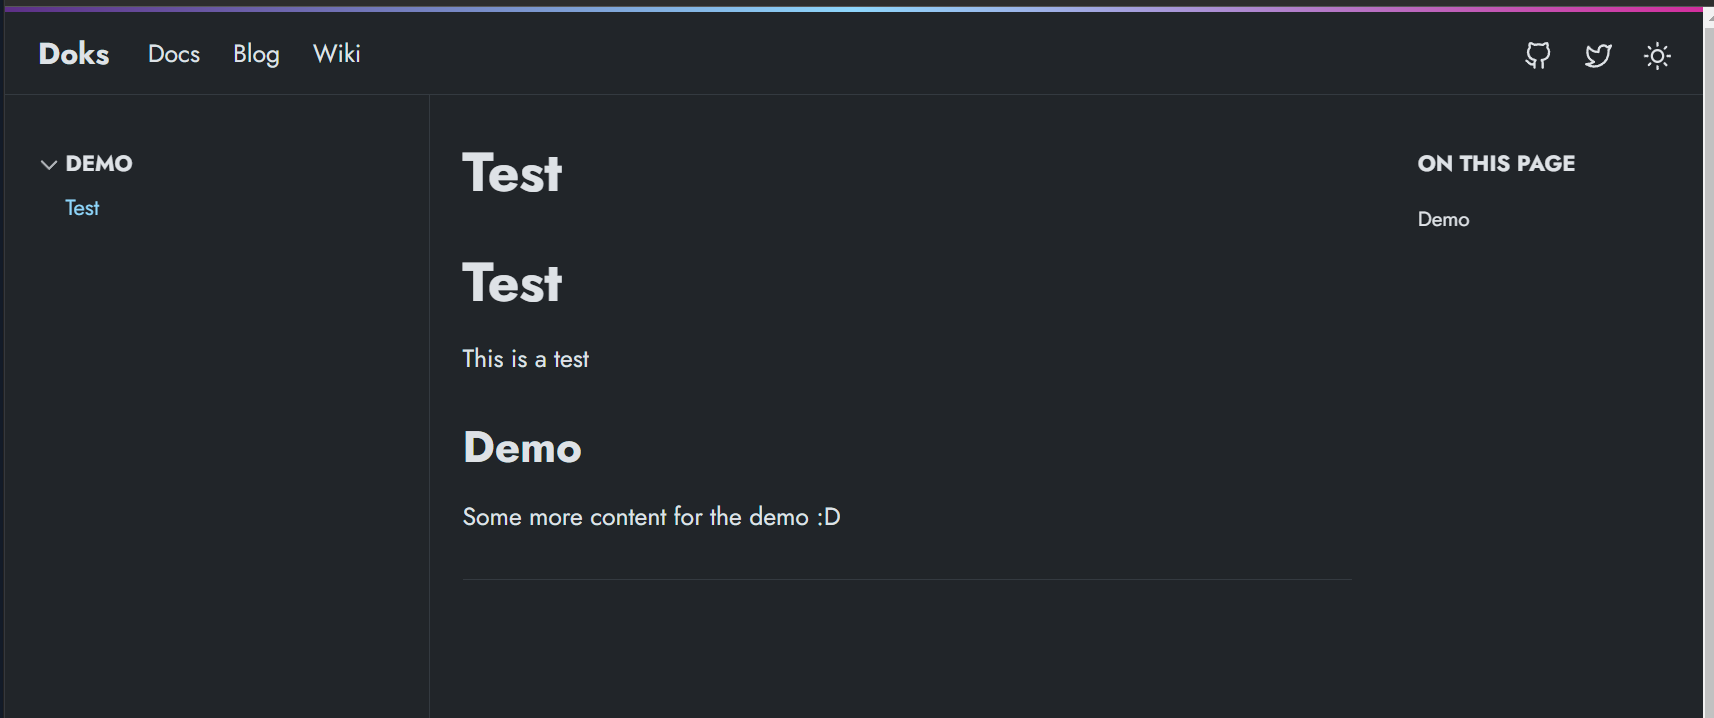
When clicking on the new wiki entry, it should link to the new page we just created. The sidebar menus should also show correctly.
Making the Search Work
You might have noticed that compared to the original docs page, the search bar is not showing up on the new page. This part was the one I had the most trouble with, but it is one of the most important features of the project. To get it to work, there are multiple files we need to edit.
assets/scss/components/_alerts.scss
Add a new entry after line 10 for the new section. Lines 10-13 should look like this:
.docs main .alert,
.wiki main .alert {
  margin: 2rem -1.5rem;
}
config/_default/config.toml
Here we define what our docs or main sections are. Add this at the bottom:
# Search
[params]
mainSections = ['docs', 'wiki']
assets/js/index.js
Replace line 97 here.
{{ $list := where site.RegularPages "Type" "in" site.Params.mainSections -}}
layouts/partials/header/header.html
Replace line 34 with
{{- $active = and $active (in site.Params.mainSections $current.Section) -}}
and replace line 96 with
{{ if in site.Params.mainSections .Section -}}
layouts/partials/footer/script-footer.html
Replace lines 77 and 102 with
{{ if and .Site.Params.options.flexSearch (in site.Params.mainSections .Section) -}}
Reloading the page, our new section will include a working search!

Minor config changes
There are some config changes you might want to make.
Edit the the social links and menu configuration in config/_default/menus/menus.en.toml and config/_default/params.toml.
I also recommend you set both codeFences and noClasses to true in config/_default/markup.toml. This will enable syntax highlighting in code blocks. Honestly, no idea why this is not enabled by default.
Deploying to Github Pages
We can now deploy our site to Github Pages! There are only a couple of steps left.
Create Destination Repository
We will be creating another repository which will contain the content of the production website, located in the public/ folder. I will be created one called demo.bufu-sec.com.
Edit Github Actions
Next, we edit the .github/workflows/node.js-ci.yml workflow, so whenever we push new changes, it will automatically rebuild our site and deploy it to our new repository. IMPORTANT: Make these changes through github.com and not through your code editor.
You can find the file at https://github.com/xbufu/test_wiki/blob/master/.github/workflows/gh-pages-ci.yml. Just make sure to change lines 5 and 7 to whatever your base branch is called in your repository, and set external_repository in line 35 to link to the new repo you just created.
Commiting the changes will trigger a new workflow run, which will fail. This is intended, since we haven’t set everything up yet or published our changes.
Finally, pull the changes into your local repo:
git pull
Add SSH Key
So that our workflow can actually push changes to the new repository, we need to add a SSH private key as a secret in the source repository.
Go to Settings -> Secrets and select New repository secret. Set the name to PRIVATE_KEY and paste your private key as the value.
Setup the custom Domain Name
Since I will be hosting this project on a custom domain, specifically a subdomain of bufu-sec.com, I need to change the DNS settings for the domain in namecheap.
In Namecheap, navigate to Domain List -> bufu-sec.com -> Advanced DNS. Add the following records:
| Type | Host | Value | TTL |
|---|---|---|---|
| A Record | @ | 185.199.108.153 | Automatic |
| A Record | @ | 185.199.109.153 | Automatic |
| A Record | @ | 185.199.110.153 | Automatic |
| A Record | @ | 185.199.111.153 | Automatic |
| CNAME | @ | xbufu.github.io. | 30 min |
| CNAME | demo | xbufu.github.io. | 30 min |
In config/_default/config.toml, change the very first line to include your custom domain:
baseurl = "https://demo.bufu-sec.com/"
We also need to change line 15 in config/_default/params.toml:
domainTLD = "demo.bufu-sec.com"
Create static/CNAME, which should contain your custom domain name. In my case, demo.bufu-sec.com.
Finally, create static/.nojekyll. This will tell Github to not use Jekyll to render the content, since we are using Hugo.
Final Deployment
Before we commit and push our changes, run the following command to make sure we don’t have any syntax errors in our project.
npm run test
If everything went well, we only need to commit our changes and push them!
git add .
git commit -m "initial deployment"
git push
The last step is to navigate to Settings -> Pages in our destination repository and check the Enforce HTTPS option. You might need to wait 30 min to an hour for the certificate to become available, so just sit back, relax, and enjoy your very own online wiki!
If you’re interested in my final result, check out the source code here and the deployed page at https://wiki.bufu-sec.com/. You can find the demo repository here.